
In 2019, Gmail became the most popular email client. Getting a Gmail email address is easy and cheap, it is hard to get cheaper than free. For a business, however, using a Gmail email address doesn’t give a professional impression to your customers.
With a new domain name you can get all of the features of Gmail for your own custom email address such as info@moretonbaywebsites.com.au and connect it to a G-Suite account. There are advantages of having a G-Suite account beyond using your own custom domain name.
For businesses starting out or only have one or two people, the cost of G-Suite may not be appealing, at least to start with. If you want to switch later you can, but be aware that it may be a pain in the backside to do so.
If you still want a free workaround to use Gmail with your own custom domain, this article describes how you can set it up. The article assumes you already have your custom domain. If you haven’t already acquired your domain name you can get a domain name with us through Rubidyn website.
Create a Gmail account
If you haven’t already done so, create a Gmail account to use for your custom email address. If you already have a Gmail account, consider creating a separate Gmail account for your business so emails for business and personal use are not mixed up. If you change to G-Suite or another email service later on, the separate accounts will make things much easier down the track.
Something like info.customdomain@gmail.com is a good naming scheme for creating a separate account.
Go to the Google Gmail Signup page and create a new account.
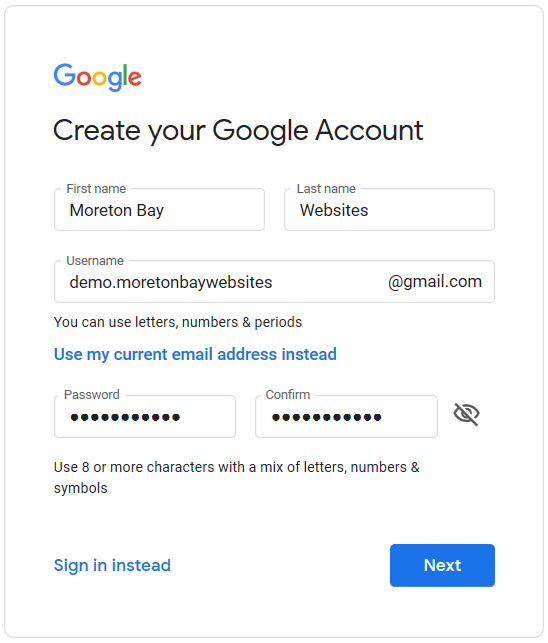
Enter your details using name.customdomain for the Gmail account name. If the email address is for a person, use the persons name for first name and last name, otherwise consider using something that is more representative of the use of the email address.

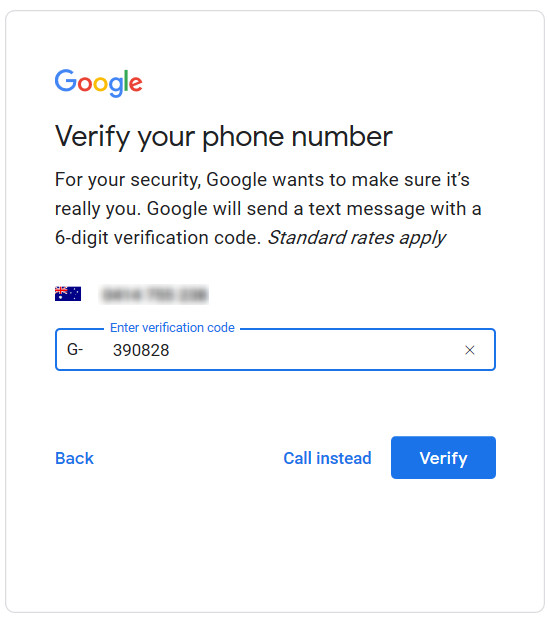
Google will ask to verify you as a real person. This is normally through a mobile phone number so a text message with a code can be sent to you. The code is then entered into the form, only the numbers are entered, don’t enter the G- before the number.
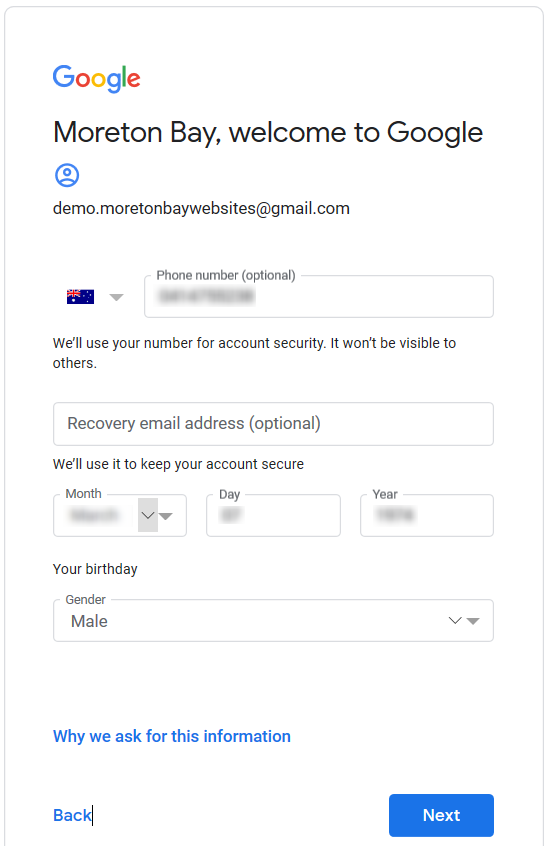
Follow the steps including accepting the terms and fill in recovery information. The recovery information is so if you forget your password you can recover it with a phone number or email address and use your date of birth for confirmation. Once this is done your Gmail account is ready for the next part.
Forward Your Email
Often hosting comes with email hosting as well. WordPress Hosting Packages with Moreton Bay Websites includes cPanel mail which includes forwarding features. As part of the managed hosting packages we will create email forwarders for you if you provide the details to us.
The instructions below are for configuring email forwarders in cPanel. Chances are the instructions with other hosts are the same or similar. For others, you may need to find details on setting up forwarding with your host.
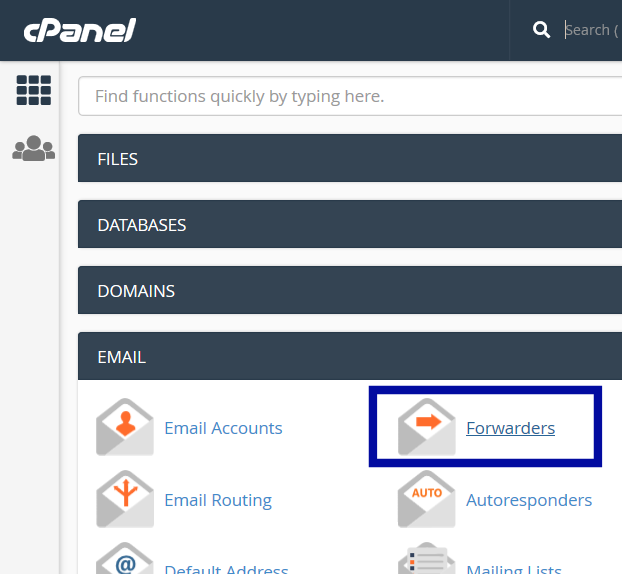
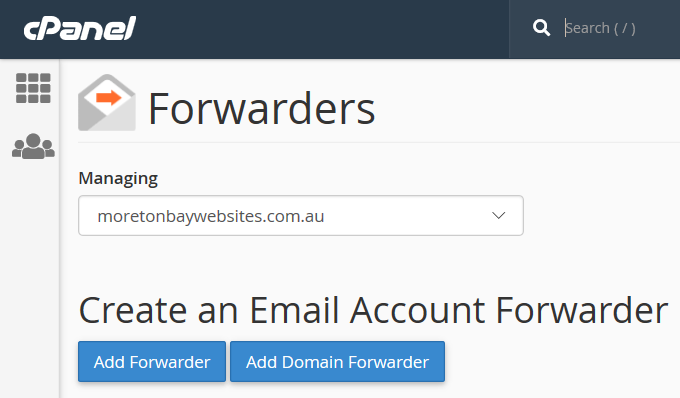
Go to your cPanel web page for managing your hosting and log in. Go down to the Mail section and click on Forwarders.
Existing forwarders are shown (if there are any). Click on the Add Forwarder button.
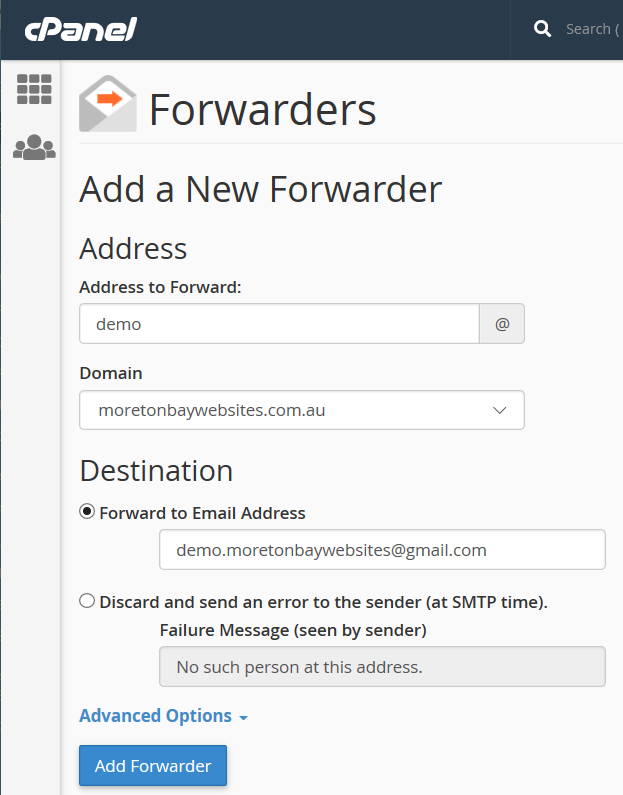
Enter the email address before the @ then select your custom domain name. In the Forward to Email Address under Destination, enter the Gmail email address for using with your custom email address, then click Add Forwarder.
The forwarder is added with a confirmation emails will now be forwarded to the Gmail email address.
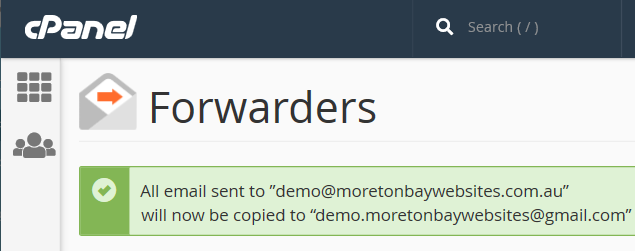
All emails sent to demo@moretonbaywebsites.com.au will now be sent to demo.moretonbaywebsites@gmail.com.
Enable Gmail With Your Custom Domain
With incoming emails now going into your Gmail account, we now need to tell Gmail to you your custom domain name for outgoing emails. Currently, sending emails from Gmail will still be using the gmail.com email address.
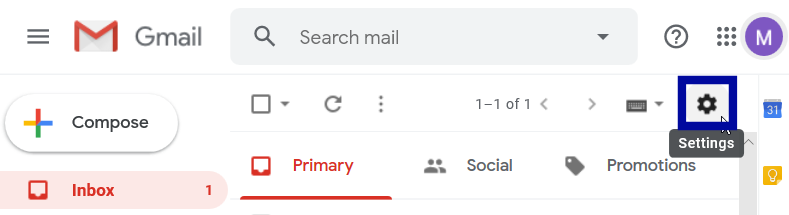
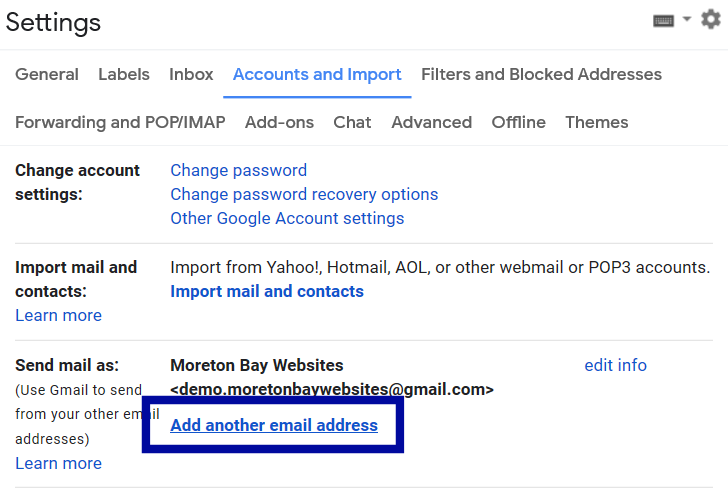
Open Google Gmail and login using your new account email address and password. At the top right corner, click on the gears icon and select Settings.
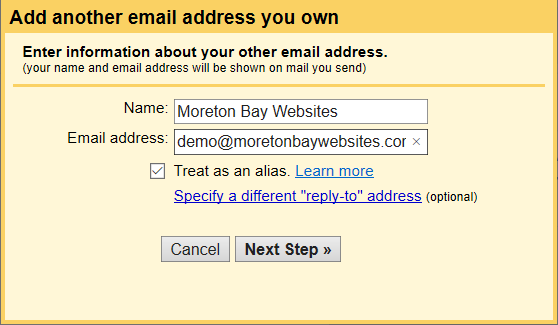
Enter your custom domain email address and click Next Step. Leave the “Treat as an alias” checked and don’t specify a “reply-to” address.
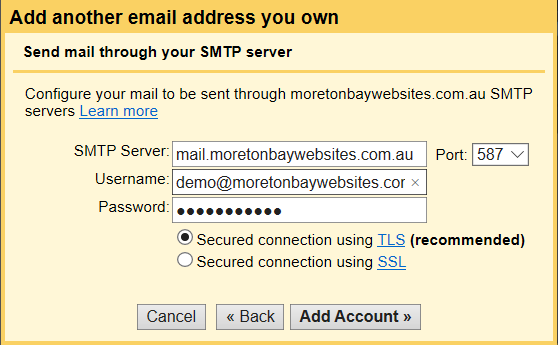
Enter details for accessing your email using SMTP.
A verification email will be sent to you with a link. Click on the link to enable the new address. Once you are returned to the settings page, make the new email address the default so new emails use your custom domain name email address.
You now have free Gmail and sending and receiving emails with your custom domain name! Send an email to a friend and ask them to send one to you to test everything is working as it should.